Well I know I've been absent from blogland for awhile, but I'm back with my first tutorial and giveaway!! I hope yall like it.It is a double sided paper scrap prism. It's easy, inexpensive, and you probably have alot of the stuff you need to make it.Forgive the bad pics. So here goes.
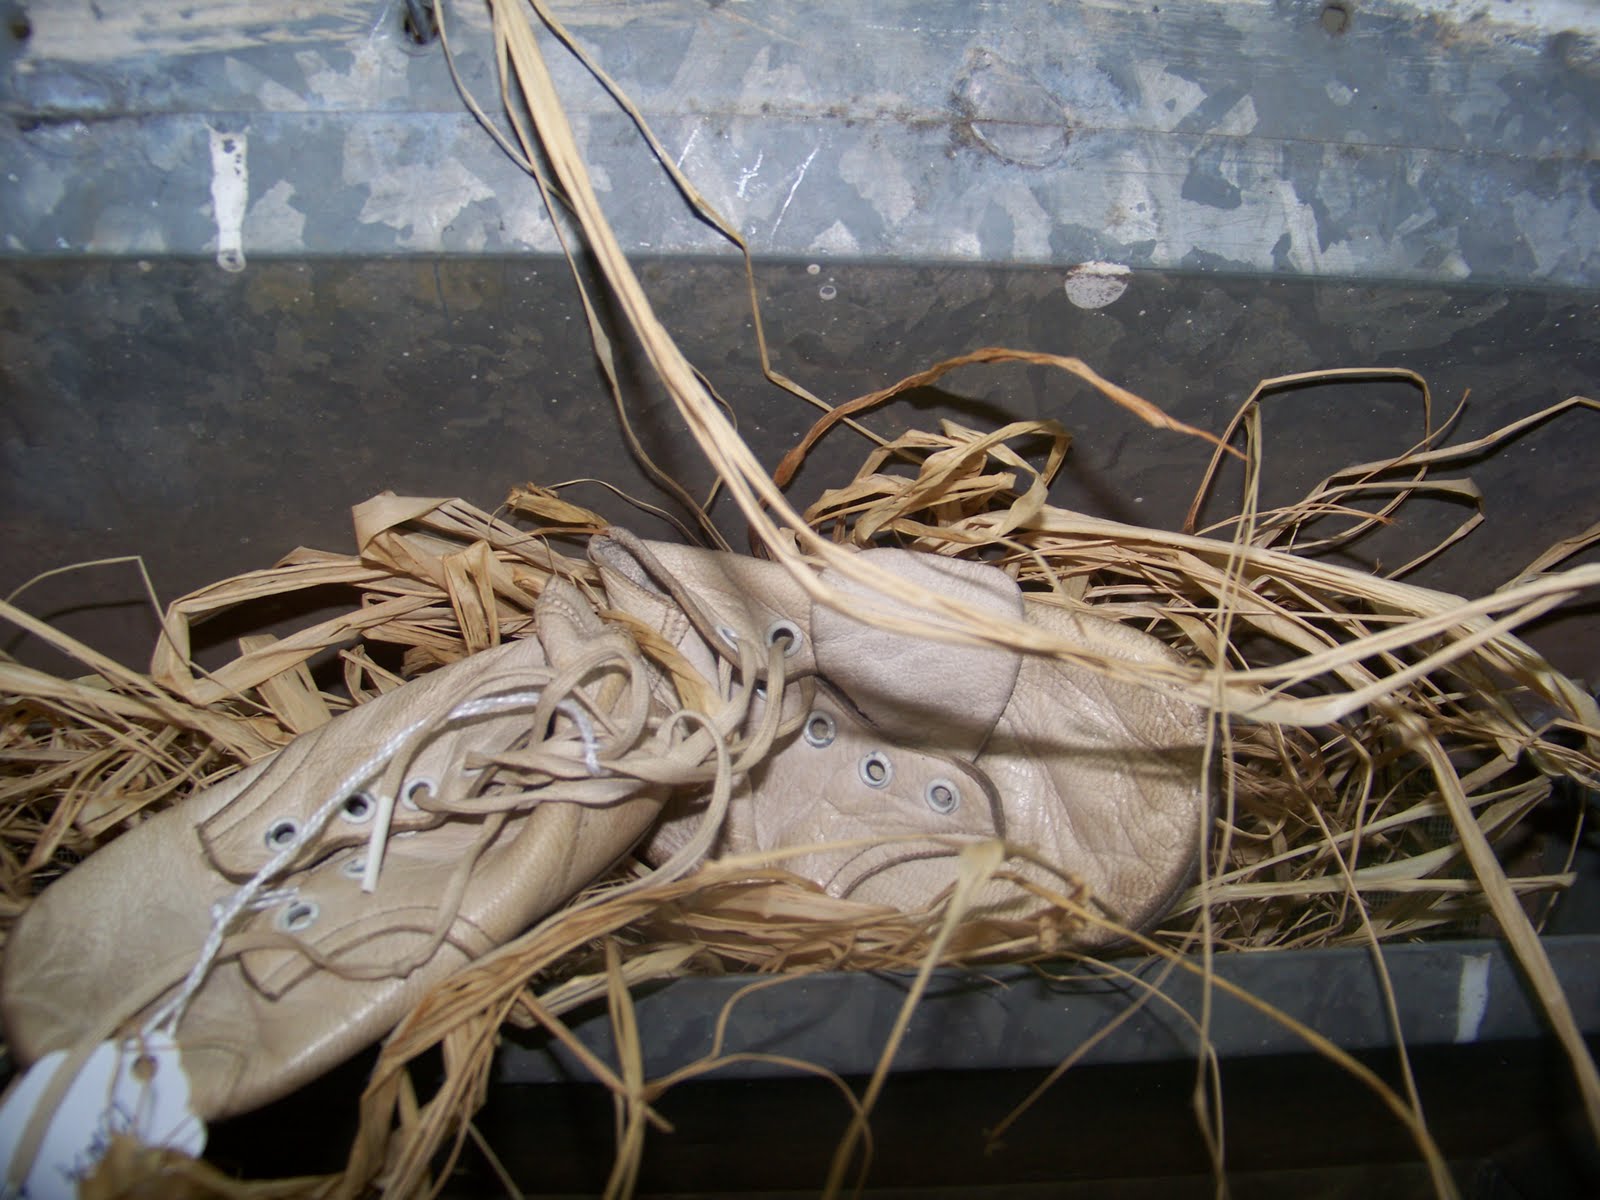
I found these light covers for 50 cents each
I tore them apart to get the glass "prisms" out.
I found this really great paper at the scrapbooking store in Fredericksburg, Texas.
Cut out the image of the lady. Trace around the prism for the background paper and cut that out.
Cut out the butterfly and text of your choice, my text came out of an old man old magazine.
Next, you glue the lady image onto the background piece and then layer the butterfly and the text over that. Then put a few dabs of glue,(i used elmers craft bond) onto the glass. Don't worry the glue will dry clear.
Now you can make a one sided prism, but I chose to do a two sided one, so the next thing you will need is more images for the bback side. I used old sheet music, a color copy of an old watch face and a color copy of an old calling card, a piece of a paper tape measure and a snipet of old lace.
Next, layer the pieces onto the background in a pleasing fashion and glue them down. Then glue the whole piece to the glass the same way you did the first one.
Now you have your front and your back pieces.
Now you will cut a piece of ribbon (I used rayon seam binding) and tie a knot in it leaving "tails"
Glue the ribbon to the back side of one the prisms with the knot above the glass on the top.
Next you will glue the front and back together.Let that dry a couple of hours. Then tear a srip from a piece of tea stained muslin about 1/2 inch wide.
It helps to iron the muslin strip. Then place a bead of glue around the edge of the prims starting at the top where the ribbon is.
center on end of the muslin strip at the top of the prisms and glue it down. Then add a tiny bead of glue around the edge of the prisms to glue down the remaining muslin. Next you can add ribbon and lace bows, buttons, and old earring, or whatever you like to the top. I used some old lace and milleners flowers. TA-DA thats it. Hang and enjoy!!!
SO THIS IS ALSO MY FIRST GIVEAWAY. LEAVE A COMMENT FOR A CHANCE TO WIN THE PRISM FEATURED IN THIS BLOG. FOLLOWERS WHO LEAVE A COMMENT WILL HAVE TWO CHANCES. I WILL ANNOUNCE THE WINNER ON JUNE 1ST. Please be sure I can reach you by email to get your mailing address. BEST WISHES!!!!
I would love to see yours, send me pics and I will post them on my blog!!!